Cleaning Clothes in the Backcountry

"Alright," I said to Lightfoot on our John Muir Trail hike in 2012. "Smell this sock again and tell me if the baking soda made any difference." The sour look on his face gave me the answer as he slowly handed the sock back to me.

After a while on a long distance hike, you start to lose your ability to smell yourself, at least to a certain point. This is a blessing when you're alone, otherwise it's a curse. It would be great if I was a cartoon and could just look up to see if there were stink lines drawn above my head, but sadly I'm not, so Lightfoot offered to smell my socks after a thorough rinse and again after they had soaked in a baking soda and water solution for thirty minutes. Only a true friend would take a bullet like that.

"Hmm, alright, next time I'll let it soak longer or add more baking soda."

I began experimenting with environmentally-safe ways to clean my clothes in the backcountry after hiking the Appalachian Trail. Since I started backpacking, I've pretty much started to define "clean" as "dry," so don't get me wrong, clean out there isn't the same thing as clean at home. I decided, however, that long-distance backpacking would be more enjoyable if I could feel cleaner. Being tranquil and at peace in the natural world is a lot easier if you don’t smell like a corn chip’s foot. That's why cleanliness is next to godliness, and why you haven't seen a drawing of Buddha with stink lines above his head.

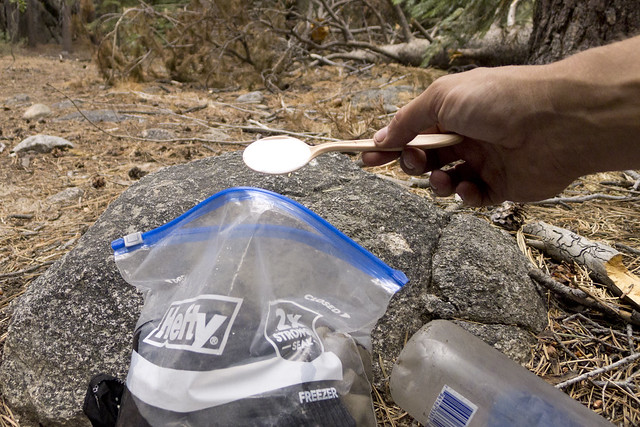
First, I pack a recycled plastic bread bag or a one-gallon Ziploc and at least 2 tablespoons of baking soda. Since I'm usually only washing one or two pairs of socks, a pair of underwear, and a lightweight shirt at one time, the bread bag or Ziploc is big enough.

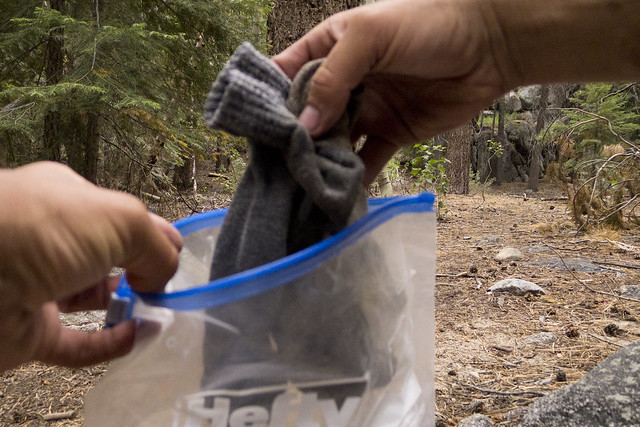
1. After setting up camp at the end of the day, I put the offending clothes into a one-gallon Ziploc bag.
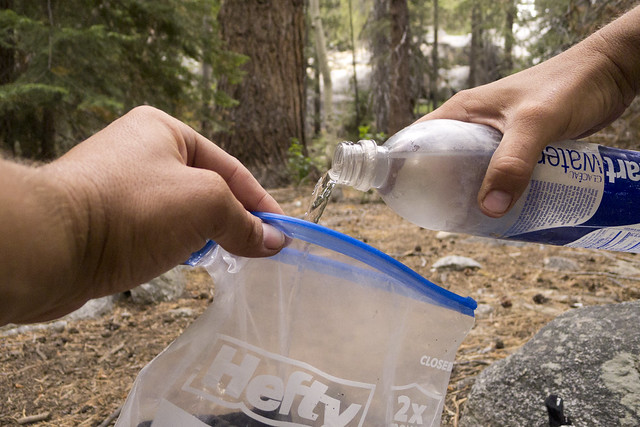
2. Then I add water.

Don't put the clothes directly in the water source. Clothes hold residual detergents from previous washes, which you may see proof of in the form of suds during the next step. Clothes may also contain other chemicals from deodorants, bug sprays, etc. Consider putting your backpacking clothes through another rinse cycle after you've washed them at home.
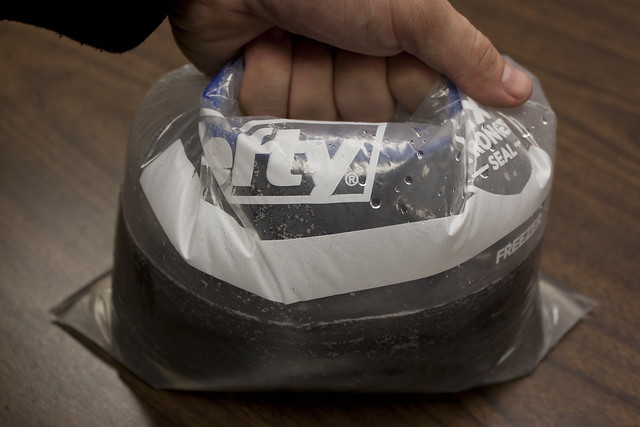
3. Seal the bag with a little bit of air inside. Now, shake it vigorously. This is where most of the cleaning happens, and the longer you agitate the clothes the cleaner they'll get.
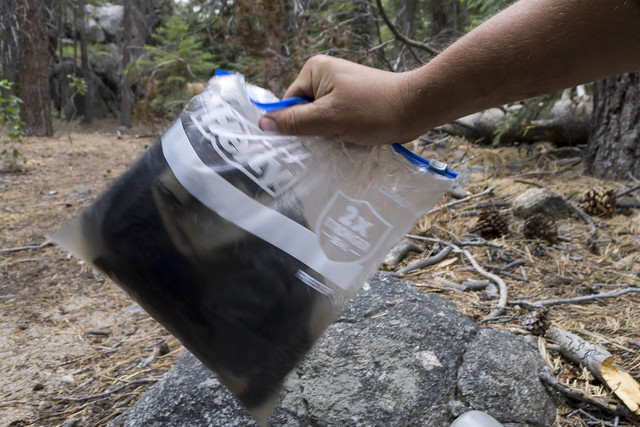
4. Make sure you're at least 200 feet from all water sources then empty the bag and squeeze as much water out of the clothes as you can. Avoid twisting wool and synthetic fabrics when wringing out the water. It's less damaging to roll them up and squeeze the water out.

Repeat steps 2 through 4 as often as necessary. I usually do it 3 to 5 times, and agitate for at least a couple minutes each time.

This alone will make a tremendous difference, and more so the longer you agitate and the more times you replace the water as you do it. Your clothes will be a lot less smelly, and a lot more comfortable to wear. Actually, if your clothes weren't that dirty to begin with, water and agitation would probably be enough to get them clean. After wearing the same clothes on the trail for a couple days, however, they'll probably still smell at this point, but hey, at least people won’t be able to smell you from ten feet away.

If you want to stick with slightly smelly clothes to save weight in your pack and have as little impact on the environment as possible, feel free to skip the next two steps. If you want to get them cleaner, however, it's time to get out the baking soda.
5. If you want to remove a stain, mix a little water with baking soda to make a paste, apply it to the stain, gently rub the stained fabric into itself, and then continue.
6. Fill the bag with about a quart of water and about 2 tablespoons of baking soda (more on why I don't use detergents below). Shake vigorously to mix. If you need more water to cover your clothes, just increase the baking soda as well by roughly that same ratio. It doesn't have to be exact.

Now, let that soak overnight.
7. In the morning, go about 200 feet from all water sources, squeeze the baking soda water out the clothes, and then rinse them in the same way as steps 1 through 4.
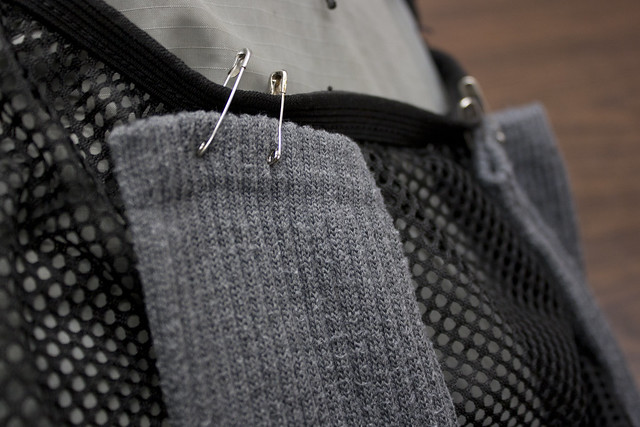
8. I attach the wet clothes to my backpack using safety pins, so they can dry while I hike. If it's warm enough, I'll just wear the shirt wet. The synthetic or merino wool fabric my shirts are made of dry quickly from body heat.
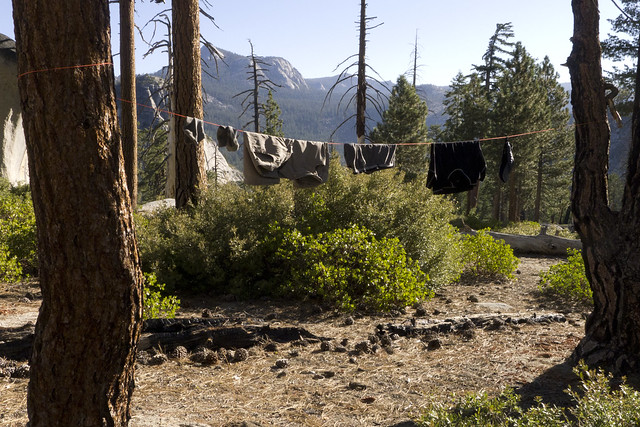
Safety pins also work great to hang clothes on a line, so wind doesn't blow them off and so you don't have to fold them over the line, which makes them take longer to dry.

The odors will continue to decrease as your laundry dries in the sunlight.
9. And finally, go find Lightfoot and have him sniff your sock to see if it worked.

More Uses for Baking Soda


Before I go into why I don’t use detergents in the backcountry, one reason I take baking soda instead of the other alternatives is it's useful for other things on the trail. For example:

1. You can mix some baking soda and a little water in the palm of your hand to form a paste and use it as a gritty hand and foot scrub to remove dirt and odors.

2. Relieve the itch of bug bites, bee stings, or Poison Ivy by applying the baking soda paste like a salve onto the affected skin.

3. You can scrub cook pots with that baking soda paste solution, as well. Or just sprinkle some on a damp bandanna and scrub away.

4. The paste can also be used to brush your teeth. It doesn't contain fluoride, but it makes a decent toothpaste if you run out.

5. You can also dissolve a teaspoon in 4 ounces of water to make a mouthwash. Slosh it around in your mouth to get rid of bad breath or relieve canker sore or tooth pain.

6. Dust some under your arms and on your feet to use it as a deodorant. Not a good alternative if you're going on a date, but it helps a little bit on the trail.

7. You can cool a sunburn, windburn, or other minor burns or rashes by saturating a bandanna in a warm water and baking soda solution and gently dabbing it onto the affected area.

8. Supposedly, you can rub dry baking soda on your roots to degrease your hair, and then just towel out the excess after 1 to 3 minutes. I haven’t tried this yet, but I have heard of people doing it.

9. Sprinkle some dry baking soda on your dirty clothes so they don’t stink up your whole backpack.

10. Relieve a sore throat by gargling a mixture of ½ teaspoon of baking soda and ½ teaspoon of salt with a ½ cup of warm water a few times a day until it’s gone.

That's a lot, but I'm sure there are many other uses for baking soda on the trail.

Why I Don’t Use Detergents

I'm not totally opposed to people using certain environmentally-friendly biodegradable detergents, but I'm just not convinced any are 100% safe. I prefer to keep as many chemicals out of the backcountry as possible and baking soda is useful in so many other ways.

If you prefer to use a detergent, there are some that are considerably safer for the environment, and safer ways to use them.

First, there are no detergents safe enough to dump directly into a water source, even if the detergent's label has a bright blue sky and green leaves on it, and you can only buy it in a locally-owned co-op from a barefoot hippie drenched patchouli oil. Always dump the wastewater into a 6 to 8” deep hole dug at least 200 feet from a water source, and use it sparingly.

It’s hard to tell which detergents are the safest to use because they don’t have to disclose all ingredients on the label. So, choose a detergent based on what they claim they don’t add. They don't have to legally tell you if it does contain certain things, but false advertising is still illegal (sort of). For example, look for detergents that are phosphate-free, chlorine-free, fragrance-free, dye-free, and ones that are plant-based and contain no petroleum solvents.

Fragrance-free is also important because it can attract animals, but also because companies may be able to hide certain chemicals in their fragrances and still legally claim the product is free of it. (As of this post, that is the case, but there is a proposed law in the US that may change that soon.)

Biodegradable Soap

Also, in addition to the advice above, only use biodegradable detergents. Just remember that no soap is biodegradable in water. Biodegradable soaps are only biodegradable when buried in the soil.

Spend enough time on the trails and you'll eventually hear something like, “I have biodegradable soap, so I just jump in the lake to bathe.” If that is how you’re using it, it’s not biodegradable soap. If biodegradable soap accumulates in water sources, it can lead to excessive plant and algae growth and decrease dissolved oxygen in the water.

To print biodegradable on a label, the product just has to be “capable of being decomposed by biological agents, like bacteria, fungi, or algae, and break down into carbon dioxide, water, and biomass in a reasonable amount of time in the natural environment.” Further, it could take up to six months to biodegrade in the soil, and still be deemed biodegradable. By then, if not properly buried at least 6" in the soil and 200 feet from a water source, it could work itself into the aquatic ecosystem.

Biodegradable soap is a good example of the cobra effect, when an attempted solution to a problem actually makes the problem worse. Overall, biodegradable soaps are a good thing. They are technically much better for the environment, but because the term is often misunderstood, the product is often used in an environmentally unfriendly way. So, a product with good intentions can actually end up being worse for the environment.

It’s like being okay with producing more garbage, because you recycle, or leaving an energy-efficient light bulb on more often because it uses less energy.

Also, since there is an assumption that it is safe for the environment, some people may end up using more of it than they would otherwise. With the method above, a couple drops is all you need.

Here are a few other tips for keeping your clothes clean in the backcountry:

1. You can reduce odor and the number of times you have to wash your clothes, if you wear clothes made of merino wool. It doesn't absorb body odors or hold onto bacteria like most synthetic fabrics, like those used in Under Armor for example.

2. Choose clothing made of materials that will dry fast in the sun. Hiking clothes made to quickly wick moisture from your body will likewise dry fast in the sun after you wash them.

3. If it's overcast and your socks are still a little damp at the end of the day, put them in your sleeping bag at night. Your body heat will help dry them out.

4. Before heading to the trail, wash your clothes at home with just water. This will remove residual detergents and make it safe to jump in a lake with your clothes on to give them a quick wash.

Let me know if you have any questions, concerns, or suggestions by emailing me at ryan@abackpackerslife.com.

Safe Drinking Water in the Backcountry, Part 2: Filtration

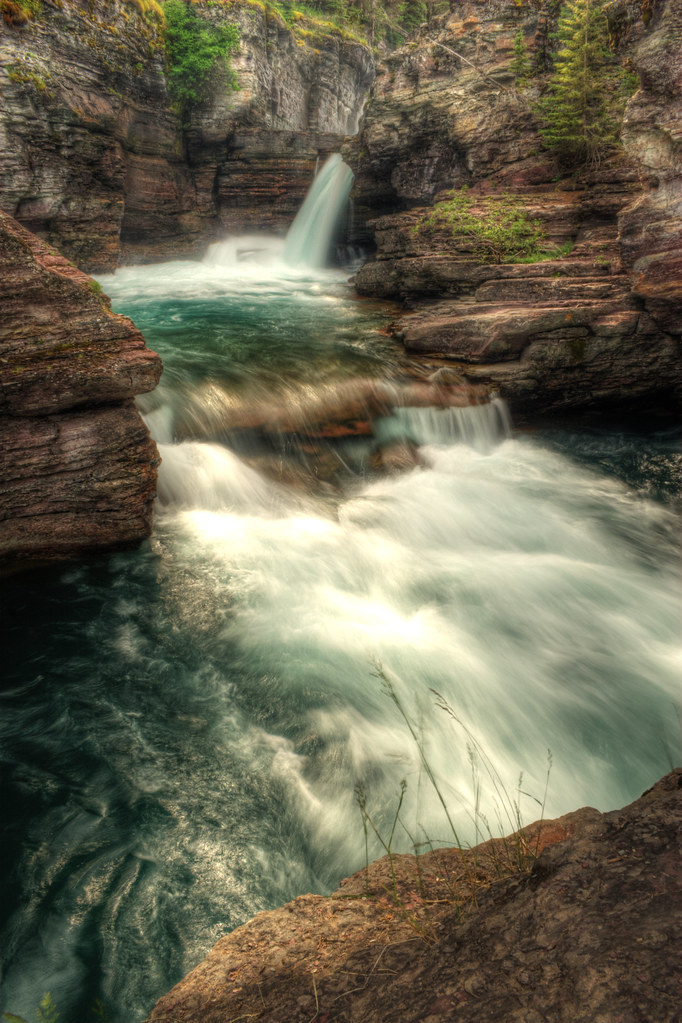
Saint Mary Falls, Glacier National Park
In my previous post on using bleach to treat water in the backcountry, I said my method for treating water is a combination of household bleach and an inline filter. You might be wondering why I would use both. Especially since most people only use one or the other and some don't treat their water at all... read more >

If I was only going to take one treatment method, it would be a .1 micron inline or straw filter every time, but below are good arguments for carrying both.
  1. It's good to have a backup method... read more >
  2. Filters allow me to drink up at the source and carry less... read more >
  3. An eyedropper of bleach only weighs 1 ounce, so even though I prefer an inline or straw filter, 1 ounce isn't a noticeable addition to my pack.
  4. Filters, unlike any chemical treatment, are very effective at removing Cryptosporidium and Giardia, the two most common water-born illnesses in American backcountry... read more >
  5. Bleach is very effective at removing viruses and bacteria, filters are not... read more >
  6. Bleach can be used to sterilize my toothbrush and eating utensil... read more >
  7. Filters improve taste... read more >
My preferred filter:

Sawyer Squeeze Filter
With the variety of filters on the market, I haven't found a good reason to continue using my traditional pump-style filter. If I can help it, I'd rather not get down on my knees, dangle a filter hose in water, and pump it into a bottle. I prefer inline or straw filters.

4-Way Filter Bottle
Rather than pump water through the filter, an inline or straw filter uses your suction to filter as you sip. You can just scoop and go, without having to take off your pack. And to fill a cook pot, you can use gravity or squeeze the water from the pouch or bottle.

When on a trail with plenty of water sources, it's not inconvenient to get water, so I don't carry around as much water weight. In addition, the inline filters themselves are also lighter than a pump filter. My favorite inline/straw filter is the Sawyer Squeeze Filter or the Sawyer 4-Way Filter Bottle. Here is why:
  1. They have a .1 micron filter... read more >
  2. Multiple ways to use... read more >
  3. Easy to use... read more >
  4. Small and Lightweight. The Squeeze filter with a pouch weighs about 3 ounces, the 4-Way Bottle, about 5.
  5. Sawyer has a one million gallon guarantee!... read more >
  6. Easy to clean/backwash... read more >
  7. Cons, because there is always one, right?... read more >
At the time of this post, Amazon is selling the Sawyer Squeeze Water Filter for $42.38 (Click here to order or read more reviews). For that price, you will get: three lightweight collapsible pouches (0.5 L , 1 L, and 2 L pouch), Sawyer 0.10 Absolute Micron Hollow Fiber Membrane Screw On/Off Water Filter, Replaceable Pop Up Drinking Spout, Cleaning Syringe, and the 1 Million Gallons Guarantee.

The 4-Way Filter Bottle is currently $36.86 at Amazon (Click here to order or read more reviews). For that price, you will get: a 1L water bottle, Sawyer 0.10 Absolute Micron Hollow Fiber Filter, faucet attachment for backwashing, extra straws, hose adapter for hydration bladders, and the 1 Million Gallons Guarantee.

See the Sawyer Squeeze Filter in action:

See the Sawyer 4-Way Filter Bottle in action:


More water related information:

Why I don't use Sterilizing Pens... read more >
 
How much water to carry... read more >

Using Bleach To Treat Water in the Backcountry... read more >
Why I use plastic soda or water bottles... read more >

Safe Drinking Water in the Backcountry, Part 1: Using Bleach

Click here to skip right to my method for treating water in the backcountry with household bleach. If you're like me, you hate reading through a lot of unnecessary paragraphs when you're looking for specific information, and I can be unnecessarily long-winded. Here's proof...
- - - 
As many of you know, this blog has primarily been a place to share stories and photos from my trips, but my next trip won’t be for at least a couple months. So until that time comes, my blog will be more of a practical guide to backpacking. Or with the direction my life has taken, a practical guide for the deliberately homeless.

Either way, I've learned a lot from my experiences and I love to chat about this stuff. I get a lot of questions and could spend hours answering them, as many unfortunate people have realized after asking me a seemingly simple question.

Many of the questions I get involve obtaining safe drinking water in the backcountry. When I tell people I use common household bleach, they often look at me like I have a death wish. So that's where I'll start.

Few things are as refreshing as drinking all-natural water straight from a cold mountain stream, untainted by chemical treatments. Or to just plunge your face into a spring on a hot day and quench your thirst without fussing around with filters, pumps, and hoses.

If you are smart about choosing your water source, you could go for days, weeks, or even years without treating your water and never get sick. It's a gamble, but after spending a few days stepping over moose poop, or seeing a bloated dead animal floating in a water source, or worse yet, having to witness your friend doubled over with stomach pains and running off into the trees to decorate that beautiful foliage in vomit or explosive diarrhea... I'm getting a bit off the rails here... what I'm trying to say is, that stuff kind of diminishes the "all-natural" romanticism of drinking from a cold mountain stream. So, I treat my water.

Everyone has their own preferred method, but here’s what I do:

My Water Treatment Method:
My method for treating drinking water in the backcountry is a combination of household bleach (one drop per 16 oz.) and/or an inline or straw filter. And don't forget the often skipped step of cleaning your hands after touching potentially contaminated water. I carry a small bottle of hand sanitizer for this. Not doing so could negate everything you do to treat your water.

First, I should say that nothing is more effective as boiling to treat water in the backcountry. Boiling water vigorously for 60 seconds, or three minutes at altitudes higher than 6,500 feet, will kill everything. No other safe chemical or filtration method can claim that. If you're already boiling water for cooking, it's great. For drinking water, however, it is perhaps the most impractical method... read more >
.
Why I use bleach:
1. It's safe... read more >
2. It's effective... read more >
3. It's cheap... read more >
4. It's easy to find... read more >
5. It's lightweight... read more >
How I use bleach:

My method is based on recommendations by the Centers for Disease Control, the American Red Cross, and hours of additional reading. If you find any mistakes or have questions or suggestions, please contact me at grayson.ryan@gmail.com. I will always be happy to learn something new and will update this information accordingly.
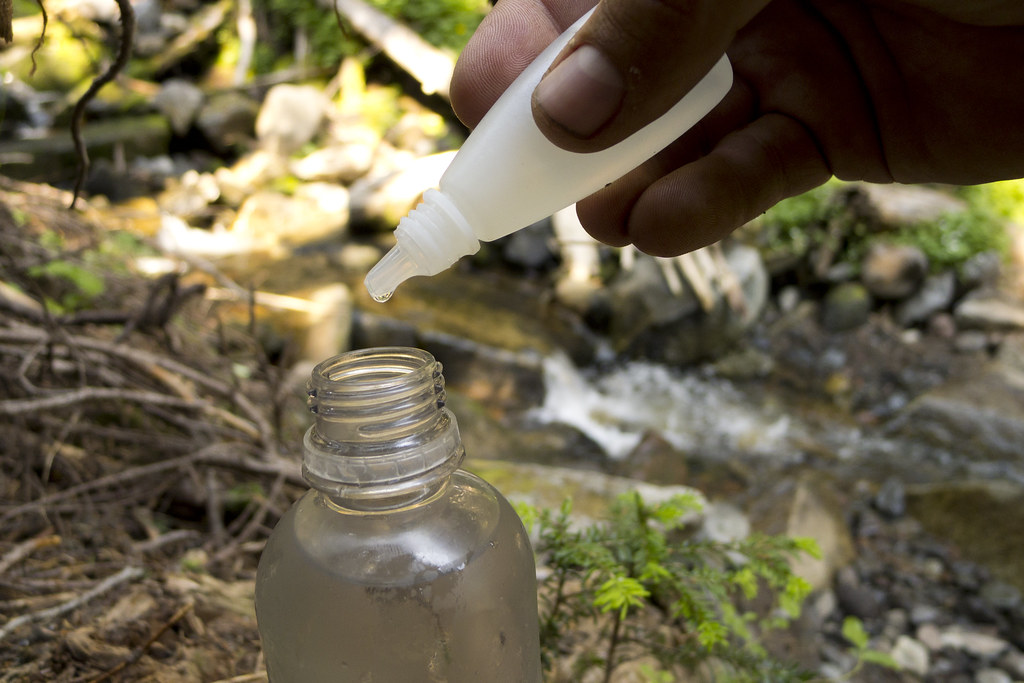
1. Fill an eyedropper with bleach.

Before heading out, I fill an eyedropper bottle with common household bleach. I use an old Visine bottle or breath drops bottle. Since bleach will degrade in direct UV light and become less effective, consider covering the bottle in duct tape, or paint, or something.

To fill the bottle without spilling bleach, I often use a ZipLoc bag as a funnel. Put the desired amount of bleach in the bag. Hold it by one of the top corners, so one of the bottom corners is above the bleach. Cut a tiny bit of the corners off, then tip the bag and pour the thin stream of bleach into the dropper bottle.

I keep the bottle in a ZipLoc freezer bag or in an empty wide-mouth Gatorade or Powerade bottle to prevent damage to gear and clothes. So far, I have not had a problem.

Also, keep in mind, the decomposition rate of bleach increases by a factor of 3.5 for every 18° F increase in temperature, so if not stored at 60-80 degrees, it's probably a good idea to dump it out and replace it after a couple weeks to be safe.
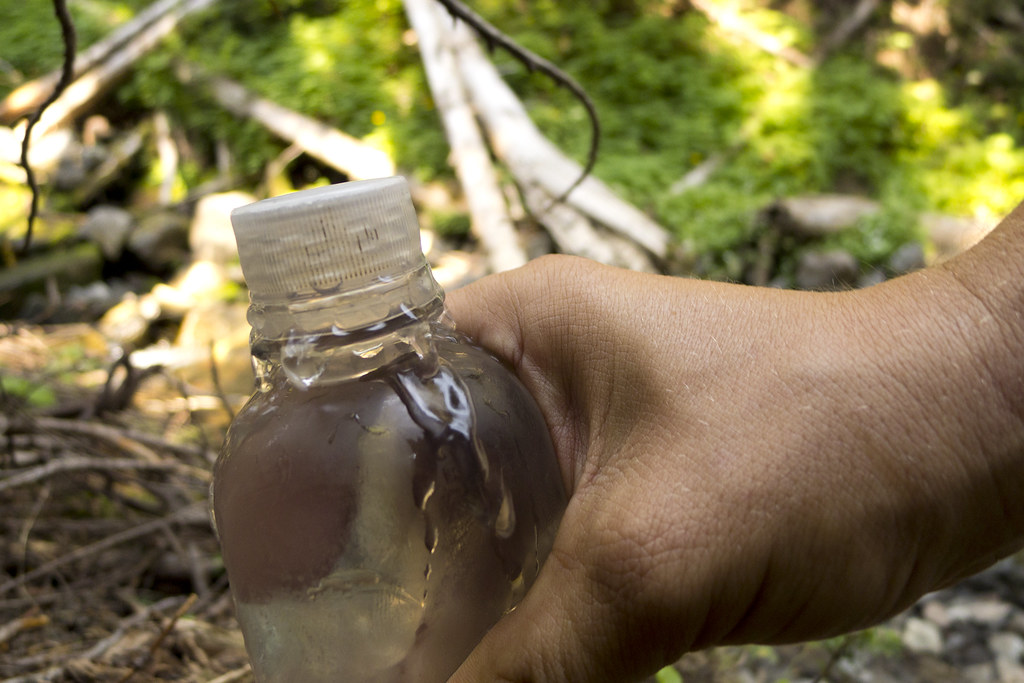
2. Fill your water bottle with water.

The best water source is actually the top few inches of lake water. The longer time under the sun’s UV rays does a lot of the sterilization for you. Otherwise, a spring or swift moving creek will be fine.

If the water source is not clear, I tie a bandanna around the top of my bottle when filling. If your water is still cloudy, let it sit until all sediment has settled, then pour the clear water into another bottle before treating. Chemical treatments are much less effective if the water is not clear or contains free-floating organic material. Organisms that are clinging to free-floating particles are harder to kill.
3. Add one drop of bleach per 16 oz. of clear water.

Use two drops if the water is really cold, cloudy, or discolored. If your bleach is not the common 4-6% solution of sodium hydrochlorite you may have to use more or less. The amount of sodium hypochlorite added to bleach may depend on the season. More may be added in the summer to compensate for the higher temperatures. It could be as high as 10%, so check your bleach bottle’s label and adjust dosage accordingly.
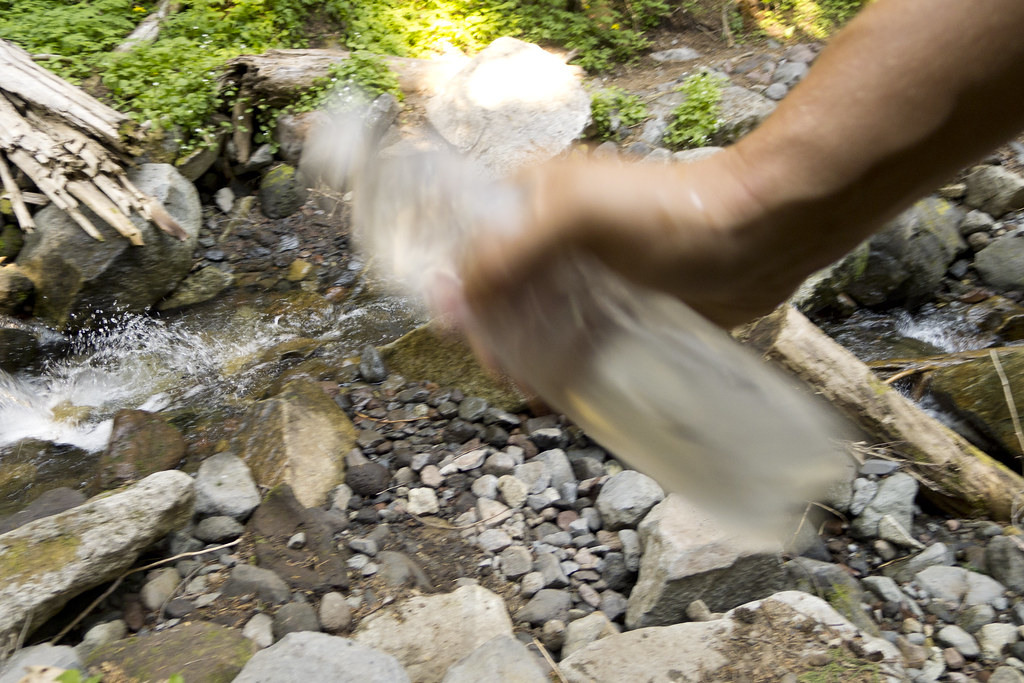
4. Shake it like a Polaroid. 
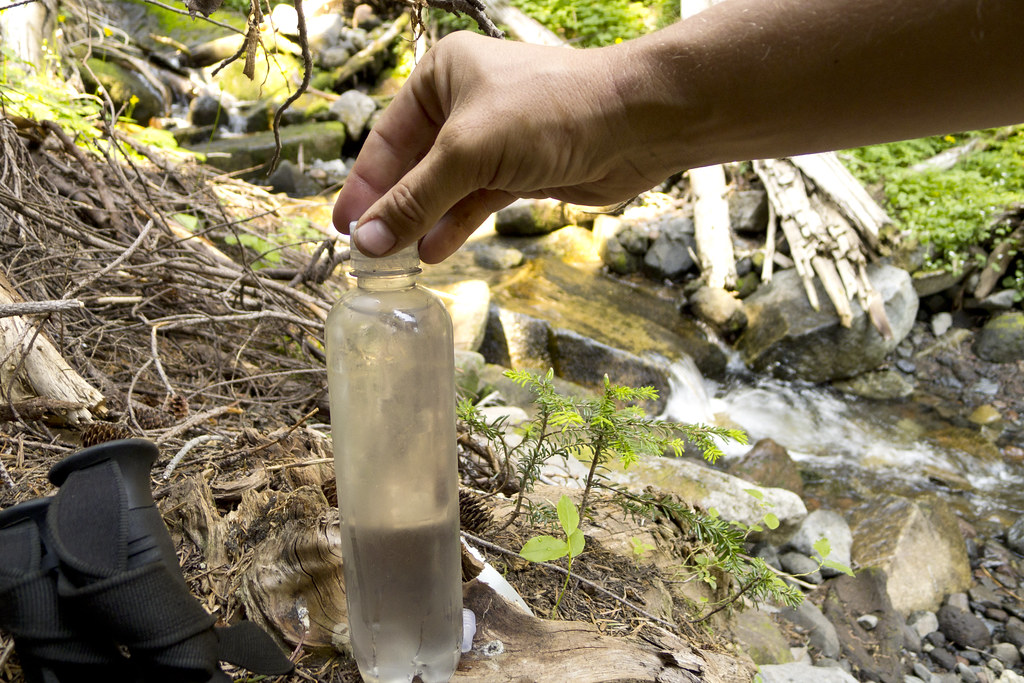
5. Screw the cap nearly all the way on, then squeeze the bottle until it starts to pour out, and then tighten the lid.

This ensures that the entire bottle, including the cap and threads, get disinfected.
6. Wait 30 minutes. And in the meantime, clean your hands with a hand sanitizer. Not cleaning your hands after touching a contaminated water source could negate everything you have done to prevent a water-borne illness.

If after 30 minutes, your water does not have a slight chlorine smell similar to municipal tap water, repeat steps 3 through 5. Think of bleach as an army of soldiers you're sending into battle. They kill organisms, but die in the process. The more organisms there are to kill, the more soldiers you need. That's why it may be necessary to treat a second time. And why sometimes you'll smell or taste more chlorine than other times. Keep in mind though, this isn't the fault of bleach alone. It's true for any chemical treatment.


More water related information:

Why I don't use Sterilizing Pens... read more >
 
How much water to carry... read more >

Using Filters To Treat Water in the Backcountry... read more >
Why I use plastic soda or water bottles... read more >